Published
- 7 min read
Three.js Workshop - Physics and Shaders

Three.js Workshop — Physics and Shaders
In the previous post we built an interactive 3D scene with cameras, lights, model import and drag interaction. Now we add orbit controls, physics explosions, and write custom shaders.
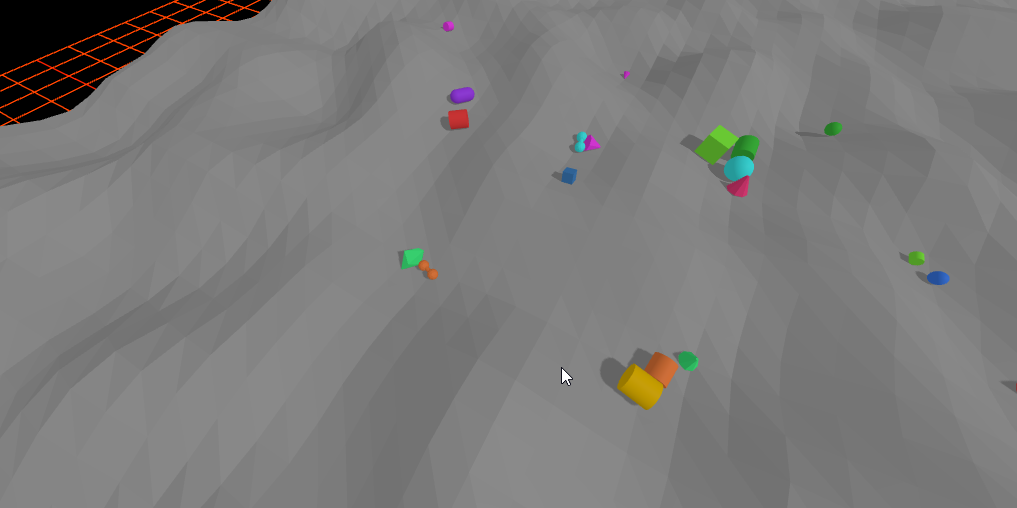
Project 2 — Orbit Controls and Physics
OrbitControls
Instead of manual WASD movement, use the built-in OrbitControls addon for 360° orbit around a target:
       import { ImprovedNoise } from 'three/addons/math/ImprovedNoise.js';
import { OrbitControls } from 'three/addons/controls/OrbitControls.js';
import JoltPhysics from 'jolt-physics/wasm';
function main() {
...
addLight(scene);
controls = new OrbitControls(camera, renderer.domElement);
controls.target.set(0, -4, -1);
camera.position.set(0, 2, 9);
controls.update();
renderer.render(scene, camera);
setupGui();Don’t forget to update the controls each frame:
       function render(time: number) {
  if (resizeRendererToDisplaySize(renderer!)) {
    const canvas = renderer!.domElement;
    camera!.aspect = canvas.clientWidth / canvas.clientHeight;
    camera!.updateProjectionMatrix();
  }

  controls!.update();
  renderer!.render(scene!, camera!);
Explosion Light
Add a point light that flashes on click to sell the explosion effect:
       let floorMesh: THREE.Mesh | undefined;

let explosionLight: THREE.PointLight | undefined;
let explosionLightBorn = -Infinity;
const EXPLOSION_LIGHT_DURATION_IN_SECONDS = 0.6;
Create the light once in main():
       function main() {
  ...
  addLight(scene);

  explosionLight = new THREE.PointLight(0xff6600, 0, EXPLOSION_RADIUS * 3);
  explosionLight.castShadow = true;
  scene.add(explosionLight);
  controls = new OrbitControls(camera, renderer.domElement);
  controls.target.set(0, -4, -1);
Animate the intensity decay:
       function animate(time: number) {
  time *= 0.001; // convert time to seconds

  if (explosionLight && explosionLight.intensity > 0) {
    const t = Math.min((time - explosionLightBorn) / EXPLOSION_LIGHT_DURATION_IN_SECONDS, 1);
    explosionLight.intensity = EXPLOSION_LIGHT_INTENSITY * (1 - t) * (1 - t);
  }
Trigger it on click:
function applyExplosion(center: THREE.Vector3) {
if (explosionLight) {
explosionLight.position.copy(center).y += 0.5;
explosionLight.intensity = EXPLOSION_LIGHT_INTENSITY;
explosionLightBorn = performance.now() / 1000;
}
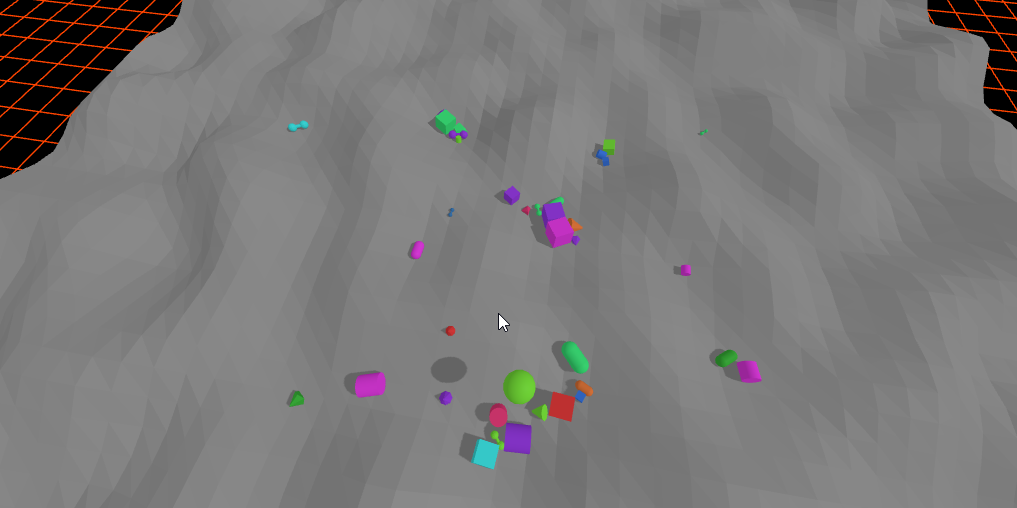
}Physics Explosions
Apply impulses to all physics bodies within the blast radius:
       function applyExplosion(center: THREE.Vector3) {
  if (explosionLight) {
    explosionLight.position.copy(center).y += 0.5;
    explosionLight.intensity = EXPLOSION_LIGHT_INTENSITY;
    explosionLightBorn = performance.now() / 1000;
  }

  for (const { body } of dynamicBodies) {
    const p = body.GetPosition();
    const bx = p.GetX(), by = p.GetY(), bz = p.GetZ();
    const dx = bx - center.x;
    const dy = by - center.y;
    const dz = bz - center.z;
    const distSq = dx*dx + dy*dy + dz*dz;
    if (distSq > EXPLOSION_RADIUS * EXPLOSION_RADIUS) {
      continue;
    }

    const dist = Math.sqrt(distSq) || 0.001;
    const falloff = 1 - dist / EXPLOSION_RADIUS;
    const scale = EXPLOSION_STRENGTH * falloff / dist;
    const ix = dx * scale;
    const iy = Math.max(dy, 0.5) * scale;
    const iz = dz * scale;

    bodyInterface.ActivateBody(body.GetID());
    bodyInterface.AddImpulse(body.GetID(), new Jolt.Vec3(ix, iy, iz));
  }
}
Note: We compare
distSqagainstEXPLOSION_RADIUS * EXPLOSION_RADIUSinstead of taking the square root first — a common graphics optimization sincesqrtis expensive and squaring both sides of the comparison is mathematically equivalent.
Project 3 — Writing Custom Shaders
Shaders run directly on the GPU and give you per-vertex and per-pixel control over how geometry is rendered. For inspiration, check out Shadertoy and fragcoord.xyz.
The scene for this project is simpler — three torus knots side by side, each with a different material so you can compare them:
       function addShapes(scene: THREE.Scene) {
  for (let i = 0; i < 3; i++) {
    let materialName: 'normalMaterial' | 'phongMaterial' | 'shaderMaterial';
    if (i === 0) {
      materialName = 'normalMaterial';
    } else if (i === 1) {
      materialName = 'shaderMaterial';
    } else {
      materialName = 'phongMaterial';
    }

    const material = getMeshByName(materialName, 0x4169e1);

    const torusKnot = new THREE.Mesh(
      new THREE.TorusKnotGeometry(0.3, 0.08, 100, 16),
      material
    );
    torusKnot.position.set(-2 + i * 2, 0, 2 - 1 * 2);
    torusKnot.castShadow = true;
    scene.add(torusKnot);
    meshes.push(torusKnot);
  }

  const planeGeo = new THREE.PlaneGeometry(10, 10);
  const planeMat = new THREE.MeshStandardMaterial({ color: 0x888888 });
  const plane = new THREE.Mesh(planeGeo, planeMat);
  plane.rotation.x = -Math.PI / 2;
  plane.position.y = -0.5;
  plane.receiveShadow = true;
  scene.add(plane);
}
The left knot uses MeshNormalMaterial, the middle one uses our custom ShaderMaterial, and the right one uses MeshPhongMaterial.
Uniforms
Shaders need input data. We pass uniforms — values that stay constant for every vertex/pixel in a single draw call but can change between frames:
       const uniforms = {
  iTime: { value: 0 },
  iResolution: { value: new THREE.Vector3() },
};
These get updated every frame in the animation loop:
       function animate(time: number) {
  time *= 0.001; // convert time to seconds

  if (rotateObjects) {
    for (const mesh of meshes) {
      mesh.rotation.x = time;
      mesh.rotation.y = time;
    }
  }

  uniforms.iResolution.value.set(renderer!.domElement.width, renderer!.domElement.height, 1);
  uniforms.iTime.value = time;
}
The Vertex Shader
The vertex shader runs once per vertex and controls geometry position. Here we use a triangle-wave function to create a pulsing deformation:
       uniform vec3 iResolution;
uniform float iTime;

varying vec2 vUv;

float triangleWave(float x) {
  return abs(fract(x) * 2.0 - 1.0);
}

void main() {
  vUv = uv;
  vec4 myPosition = vec4(position, 1.0);
  myPosition.y += sin(triangleWave(iTime) * myPosition.y * 0.2);
  myPosition.x += sin(triangleWave(iTime) * myPosition.x * 0.2);
  myPosition.z += sin(triangleWave(iTime) * myPosition.z * 0.2);
  gl_Position = projectionMatrix * modelViewMatrix * myPosition;
}
Key concepts:
positionis the vertex position in local space (provided by Three.js)projectionMatrix * modelViewMatrixtransforms from local space → clip space- We modify
myPositionbefore the transform to animate the geometry triangleWavecreates a smooth back-and-forth oscillation driven byiTime
The Fragment Shader
The fragment shader runs once per pixel and determines its colour. This one creates a smooth, time-varying colour gradient:
       #include <common>

uniform vec3 iResolution;
uniform float iTime;

void mainImage( out vec4 fragColor, in vec2 fragCoord ) {
  vec2 uv = fragCoord/iResolution.xy;
  vec3 col = 0.5 + 0.5*cos(iTime+uv.xyx+vec3(0,2,4));
  fragColor = vec4(col,1.0);
}

void main() {
  mainImage(gl_FragColor, gl_FragCoord.xy);
}
Key concepts:
gl_FragCoordis the pixel coordinate on screen- Dividing by
iResolution.xynormalises it to 0–1 - The cosine function with offset phases (
vec3(0,2,4)) produces smoothly shifting RGB values - This pattern comes from Shadertoy conventions —
mainImagetakes a frag coordinate and outputs a colour
Wiring It Up with ShaderMaterial
Three.js makes it straightforward to use custom shaders via ShaderMaterial:
       function getMeshByName(
  meshname: 'normalMaterial' | 'phongMaterial' | 'shaderMaterial',
  color: THREE.ColorRepresentation
) {
  switch (meshname) {
    case 'normalMaterial':
      return new THREE.MeshNormalMaterial();
    case 'phongMaterial':
      return new THREE.MeshPhongMaterial({ color });
    case 'shaderMaterial':
      return new THREE.ShaderMaterial({
        vertexShader,
        fragmentShader,
        uniforms,
      });
    default:
      console.warn(`Unknown mesh name: ${meshname}, using basic material as default.`);
      return new THREE.MeshBasicMaterial({ color });
  }
}
The ShaderMaterial receives the vertex and fragment shader strings plus the shared uniforms object. Three.js automatically injects built-in uniforms like projectionMatrix and modelViewMatrix.
Debug UI
The project also includes a lil-gui panel for live tweaking:
       function setupGui() {
  const gui = new GUI();
  const displayFolder = gui.addFolder('Display');

  displayFolder.add({ displayDebug }, 'displayDebug')
    .name('Display Debug')
    .onChange((value: boolean) => {
      displayDebug = value;
      stats.showPanel(displayDebug ? 0 : -1);
    });

  displayFolder.add({ rotateObjects }, 'rotateObjects')
    .name('Rotate Objects')
    .onChange((value: boolean) => {
      rotateObjects = value;
    });
}
This lets you toggle FPS stats, rotation, an axes helper, and light parameters without touching code.
Ideas to Try
- Modify the vertex shader to only deform along one axis
- Use the mouse position as a uniform input and create interactive distortions
- Replace the fragment shader with one from Shadertoy — most can be ported directly since we follow the same
mainImageconvention - Try using
varyingvariables to pass data from the vertex shader to the fragment shader (e.g. pass the deformed position as a colour)