Published
- 7 min read
Three.js Workshop - Scene, Camera, Interaction

Three.js Workshop — Scene, Camera, Interaction
This is a write-up of a hands-on Three.js workshop covering the basics: setting up a scene with a camera, adding lights and shapes, animating objects, importing 3D models and adding interaction.
Getting Started
- Clone the repository: github.com/TheCell/Threejs-Workshop
- Run
npm install - Run
npm start
Libraries in Use
- Three.js — the de facto standard 3D library for the web (Manual, Examples)
- Stats.js — measure FPS
- Lil-gui — lightweight debug UI (Guide)
- Jolt Physics — WebAssembly physics engine
Project 1 — Building a Basic Scene
Basic Camera
A camera defines what part of the 3D world is visible. The key parameters are best explained with the concept of a frustum — a truncated pyramid that represents the visible volume.

Add a camera in the main() method:
       function main() {
  ...
  renderer.shadowMap.enabled = true;
  scene = new THREE.Scene();

  const fov = 75;
  const aspect = 2;
  const near = 0.01;
  const far = 50;
  camera = new THREE.PerspectiveCamera(fov, aspect, near, far);
  camera.position.y = 4;
  camera.position.z = 4;
  camera.lookAt(0, 0, 0);

  renderer.render(scene, camera);
  renderer.domElement.addEventListener('pointermove', onPointerMove);

  addLight(scene);
Tip: Once you have something to see, try another camera — for example
OrthographicCamera— and compare the results.
Light
In order to see any objects we need to add light to the scene. Start with an ambient light:
       function addLight(scene: THREE.Scene) {
  ambientLight = new THREE.AmbientLight(0xFFFFFF, 1);
  scene.add(ambientLight);
}
Add Something to See
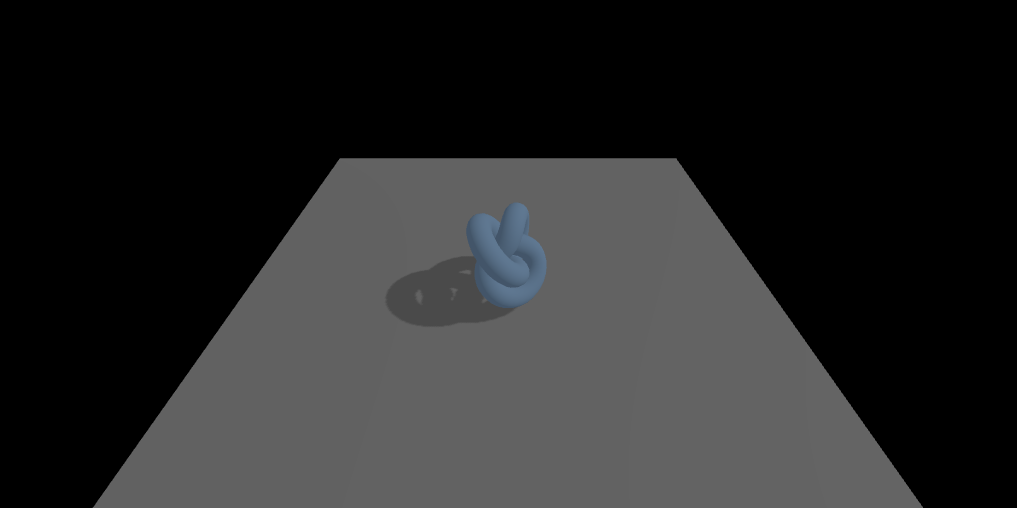
We have a camera but nothing to render. Add a floor plane and a TorusKnot:
       function addFloor(scene: THREE.Scene) {
  const floorSize = 10;
  const floorGeometry = new THREE.PlaneGeometry(floorSize, floorSize);
  const floorMaterial = new THREE.MeshStandardMaterial({ color: 0x808080, roughness: 0.8 });
  const floor = new THREE.Mesh(floorGeometry, floorMaterial);
  floor.position.y = -1;
  floor.rotation.x = -Math.PI / 2;
  floor.receiveShadow = true;
  scene.add(floor);
}
function addShape(scene: THREE.Scene) {
const geometry = new THREE.TorusKnotGeometry(0.5, 0.2, 100, 16);
const material = new THREE.MeshStandardMaterial({ color: basicColor });
const mesh = new THREE.Mesh(geometry, material);
mesh.castShadow = true;
scene.add(mesh);
meshes.push(mesh);
meshToGroup.set(mesh, mesh);
}You should now have something to see. The scene should now look like this:

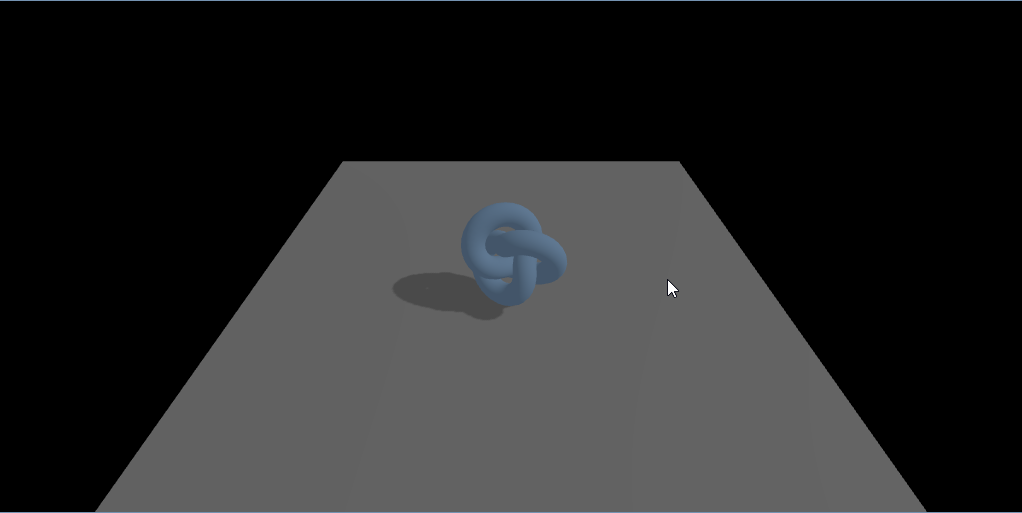
Directional Light
Ambient light alone makes the scene look flat — there are no shadows or highlights. A directional light adds depth:
       function addLight(scene: THREE.Scene) {
  ambientLight = new THREE.AmbientLight(0xFFFFFF, 1);
  scene.add(ambientLight);

  light = new THREE.DirectionalLight(lightColor, lightIntensity);
  light.position.set(Math.cos(lightAngle) * lightRadius, 10, Math.sin(lightAngle) * lightRadius);
  light.castShadow = true;
  scene.add(light);
}
Tip: Try different materials on your shapes:
MeshBasicMaterialignores complex lights, whileMeshNormalMaterialcolours based on surface normals.
Camera Movement
Listen to keyboard inputs to move the camera around:
       const keysPressed = new Set<string>();
window.addEventListener('keydown', (e) => keysPressed.add(e.code));
window.addEventListener('keyup', (e) => keysPressed.delete(e.code));
Then implement WASD + Q/E movement:
       function updateCamera() {
  if (!camera) return;
  camera.getWorldDirection(cameraForward);
  cameraForward.y = 0;
  cameraForward.normalize();
  cameraRight.crossVectors(cameraForward, up).normalize();

  if (keysPressed.has('KeyW')) {
    camera.position.addScaledVector(cameraForward, cameraSpeed);
  }

  if (keysPressed.has('KeyS')) {
    camera.position.addScaledVector(cameraForward, -cameraSpeed);
  }

  if (keysPressed.has('KeyA')) {
    camera.position.addScaledVector(cameraRight, -cameraSpeed);
  }

  if (keysPressed.has('KeyD')) {
    camera.position.addScaledVector(cameraRight, cameraSpeed);
  }

  if (keysPressed.has('KeyQ')) {
    camera.position.y -= cameraSpeed;
  }

  if (keysPressed.has('KeyE')) {
    camera.position.y += cameraSpeed;
  }
}
Animation
Our test object is quite static — let’s add some animation:
       function animate(time: number) {
  time *= 0.001; // convert time to seconds

  if (rotateObjects) {
    const groups = new Set(meshToGroup.values());
    for (let i = 0; i < groups.size; i++) {
      const group = Array.from(groups)[i];
      if (i === 0) {
        group.rotation.x = time;
      }
      group.rotation.y = time;
    }
  }
}
3D Model Import
Primitives are fine for prototyping, but real scenes need 3D models. Set up a GLTF loader and an HTML file input:
       const gltfLoader = new GLTFLoader();

function importModel() {
  const input = document.createElement('input');
  input.type = 'file';
  input.accept = '.glb,.gltf';
  input.onchange = () => {
    const file = input.files?.[0];
    if (!file) {
      return;
    }

    const reader = new FileReader();
    reader.onload = (event) => {
      const data = event.target!.result as ArrayBuffer;
      gltfLoader.parse(data, '/GLB format/', (gltf) => {
        const model = gltf.scene;

        model.traverse((child) => {
          if ((child as THREE.Mesh).isMesh) {
            const mesh = child as THREE.Mesh;
            mesh.castShadow = true;
            mesh.receiveShadow = true;
            meshes.push(mesh);
            meshToGroup.set(mesh, model);
          }
        });
        scene!.add(model);
      });
    };
    reader.readAsArrayBuffer(file);
  };
  input.click();
}
Interaction with Objects
Mouse Events
Track pointer state for click-and-drag:
       const keysPressed = new Set<string>();
window.addEventListener('keydown', (e) => keysPressed.add(e.code));
window.addEventListener('keyup', (e) => keysPressed.delete(e.code));
let isPointerDown = false;
let draggedGroup: THREE.Object3D | null = null;
window.addEventListener('pointerdown', (e) => {
  isPointerDown = true;
});
window.addEventListener('pointerup', (e) => {
  isPointerDown = false;
  draggedGroup = null;
});
Raycasting
A raycaster checks which 3D objects lie along a ray from the camera through the mouse position:
       const raycaster = new THREE.Raycaster();
const dragPlane = new THREE.Plane(new THREE.Vector3(0, 1, 0), 1);
const dragIntersection = new THREE.Vector3();

function handleInteraction() {
  raycaster.setFromCamera(normalizedPointerPosition, camera!);
  const intersects = raycaster.intersectObjects(meshes);
  const hitMesh = intersects[0]?.object as THREE.Mesh | undefined;
  const hitGroup = hitMesh ? meshToGroup.get(hitMesh) ?? hitMesh : undefined;
  let dragOffsetY = 0;
Highlighting and Dragging
Swap materials to indicate hover/click, and move objects along a plane:
         let dragOffsetY = 0;

  if (isPointerDown && !draggedGroup && hitGroup) {
    draggedGroup = hitGroup;
    dragOffsetY = hitGroup.position.y;
  }

  if (isPointerDown && draggedGroup) {
    if (raycaster.ray.intersectPlane(dragPlane, dragIntersection)) {
      draggedGroup.position.x = dragIntersection.x;
      draggedGroup.position.z = dragIntersection.z;
      draggedGroup.position.y = dragOffsetY;
    }
  }

  const activeGroup = draggedGroup ?? hitGroup;
  const activeMeshes = activeGroup ? getMeshesInGroup(activeGroup) : [];

  for (const mesh of meshes) {
    if (activeMeshes.includes(mesh)) {
      if (!originalMaterials.has(mesh)) {
        originalMaterials.set(mesh, mesh.material);
      }
      mesh.material = isPointerDown ? pickMaterial : highlightMaterial;
    } else if (originalMaterials.has(mesh)) {
      mesh.material = originalMaterials.get(mesh)!;
      originalMaterials.delete(mesh);
    }
  }
Debugging
You can always add an arrow debug line to see if your vectors are what you think they are:
       const arrowHelper = new THREE.ArrowHelper(raycaster.ray.direction, raycaster.ray.origin, 10, 0xff0000);
scene?.add(arrowHelper);